It will take about 5 minutes to finish reading this article.
1. Code Merge Commands
1.1 git merge
For merging changes from one branch to another, execute the following command on the target branch. It will create a new merge commit that merges the history of the two branches together. It generates a new merge commit on the target branch, preserving the commit history of the original branch.
1 | git merge <source_branch> |
Example:
1 | A---B---C (master) |
After executing git merge master:
1 | A---B---C---F (master) |
F is a new merge commit that merges the changes from the master branch and the feature-branch branch.
How to handle conflicts:
Use the merge command to merge branches, resolve conflicts, and execute git add . and git commit -m ‘fix conflict’. A commit will be generated at this time.
1.2 git rebase
Used to reapply changes from one branch to another branch. Execute the following command on the target branch. It will stage the commits of the target branch, then apply the commits of the source branch to the target branch one by one, and finally re-apply the previously staged commits on it. The git rebase command will make the commit history of the target branch more linear, making it appear as if changes to the source branch were made directly on the target branch.
1 | git rebase <source_branch> |
Example:
1 | A---B---C (master) |
After executing git rebase feature-branch:
1 | A---B---C---D'---E' (feature-branch) |
Here, D’ and E’ are new commits created via git rebase, they are copies of D and E respectively, and they are rebuilt directly on the latest commit C of the master branch.
How to handle conflicts:
Use the rebase command to merge branches, resolve conflicts, and execute git add . and git rebase –continue. No additional commits will be generated. The advantage of this is that it is ‘clean’ and there will be no meaningless commits to resolve the branch on the branch; the disadvantage is that if there are multiple commits in the merged branch, multiple conflicts need to be handled repeatedly.
1.3 The difference between ‘git rebase’ and ‘git merge’
Submission history:
merge: A new merge commit will be created on the target branch, retaining the history of the two branches.
Rebase: Apply the commits of the source branch to the target branch one by one, creating a more linear commit history.Conflict handling:
merge: If a conflict occurs during the merge process, Git will stop and wait for the user to resolve the conflict before the merge is committed.
Rebase: Conflicts are usually resolved with each submission of the app, so users need to resolve them one by one before continuing with the rebase process.Branch retention:
merge: The submission history of the original branch is retained, and the branch relationship is clearly visible.
Rebase: “Move” the commits from the source branch to the target branch. It looks like modifications were made on the target branch, and the branch relationship becomes more linear.Recommended use:
merge: Suitable for merging public branches, such as main branches or long-term branches.
Rebase: Suitable for updating local branches to keep the submission history clean.
Choosing to use git merge or git rebase depends on the specifics of your project and the preferences of your development team. It’s important to understand their differences and choose the right strategy for the right scenario.
1.4 git cherry-pick
This command is used to apply the specified commit to the current branch. This can be used to selectively introduce changes from a certain commit into the current branch without merging the entire branch.
1 | git cherry-pick <commit> |
Example:
Suppose you have the following commit history:
1 | A---B---C---D (master) |
If you want to apply commit F on the feature-branch branch to the master branch, you can execute:
1 | git checkout master |
This will create a new commit on the master branch containing the changes from commit F on feature-branch:
1 | A---B---C---D---F' (master) |
Here F’ is a new commit that contains F’s changes.
Precautions:
git cherry-pick can be used not only for the current branch, but also for copying commits between different branches.
If a conflict occurs when applying a commit, Git will pause the cherry-pick process and require you to manually resolve the conflict before continuing.
git cherry-pick can not only accept the hash value of a single commit, but also a range of commits, such as git cherry-pick A..D.
If you only want to apply the committed changes to the working directory without creating a new commit, you can use the –no-commit option: git cherry-pick –no-commit
.
In short, git cherry-pick is a powerful command that allows you to selectively introduce the changes of a certain commit into the current branch without merging the entire branch.
2. Check or View Commands
2.1 git status
‘git status’ is used to view the status of the workspace and staging area, showing which files have been modified, which files have been staged, and whether there are untracked files.
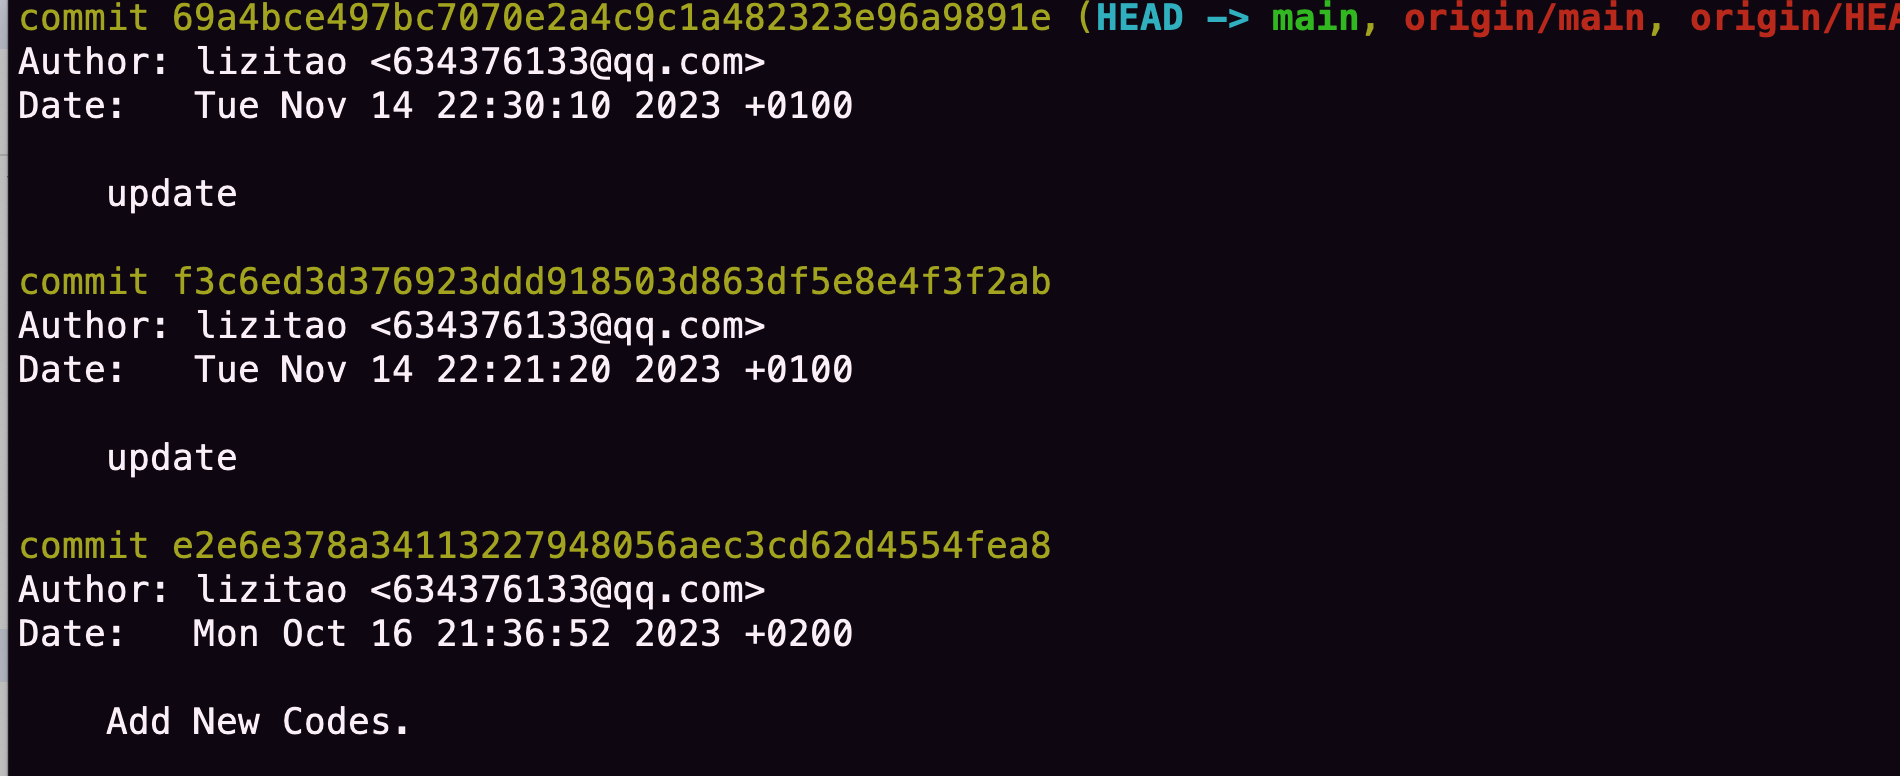
2.2 git log
Used to view submission history and display detailed information of all submissions, including submitter, submission time, submission information, etc.
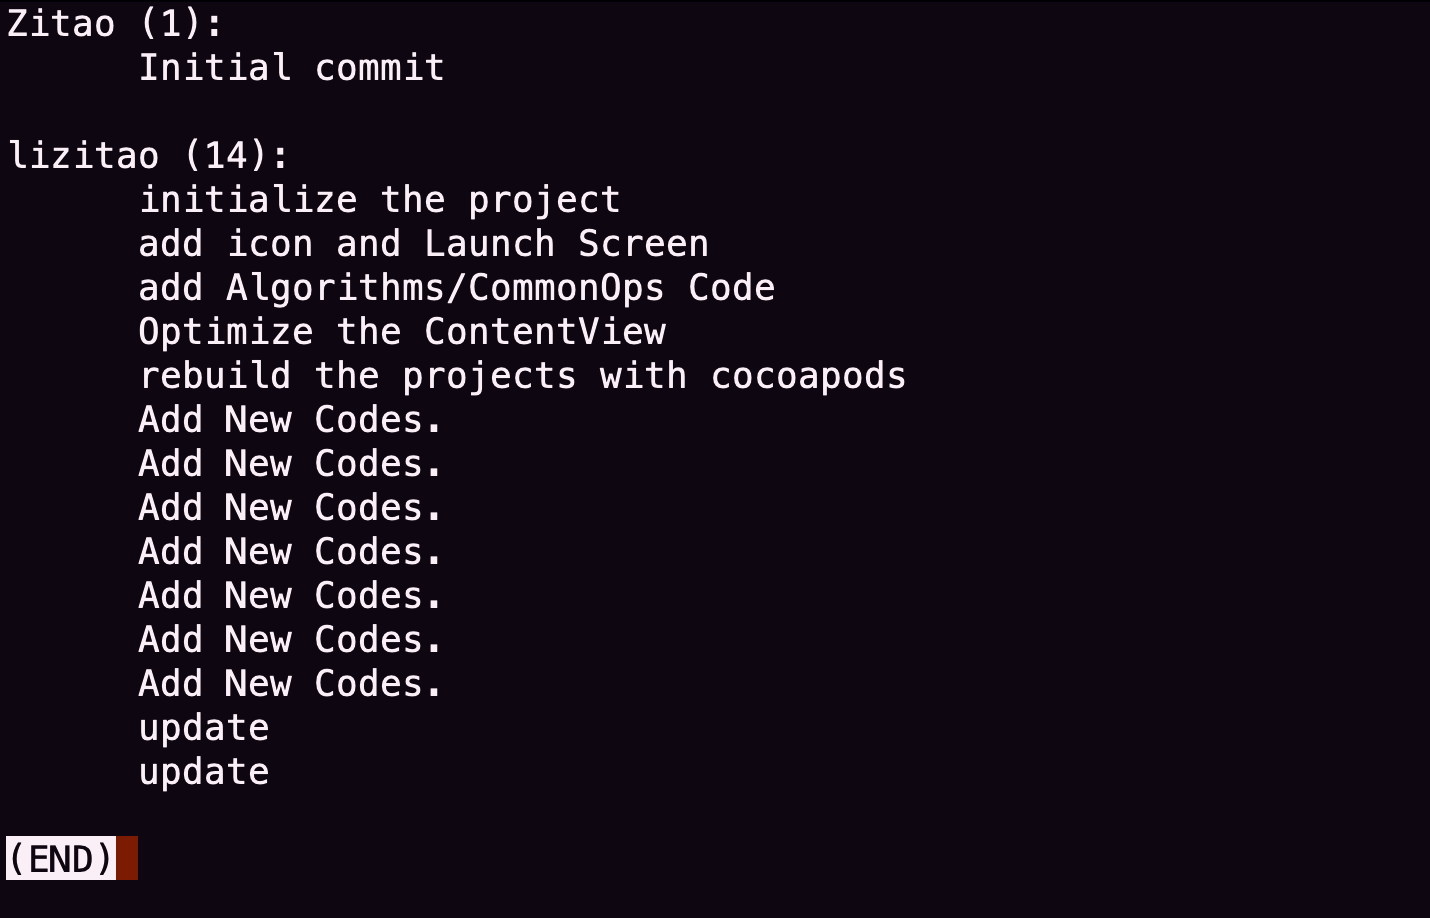
2.3 git shortlog
Used to generate a brief log of submitters and display submission information grouped by submitters.
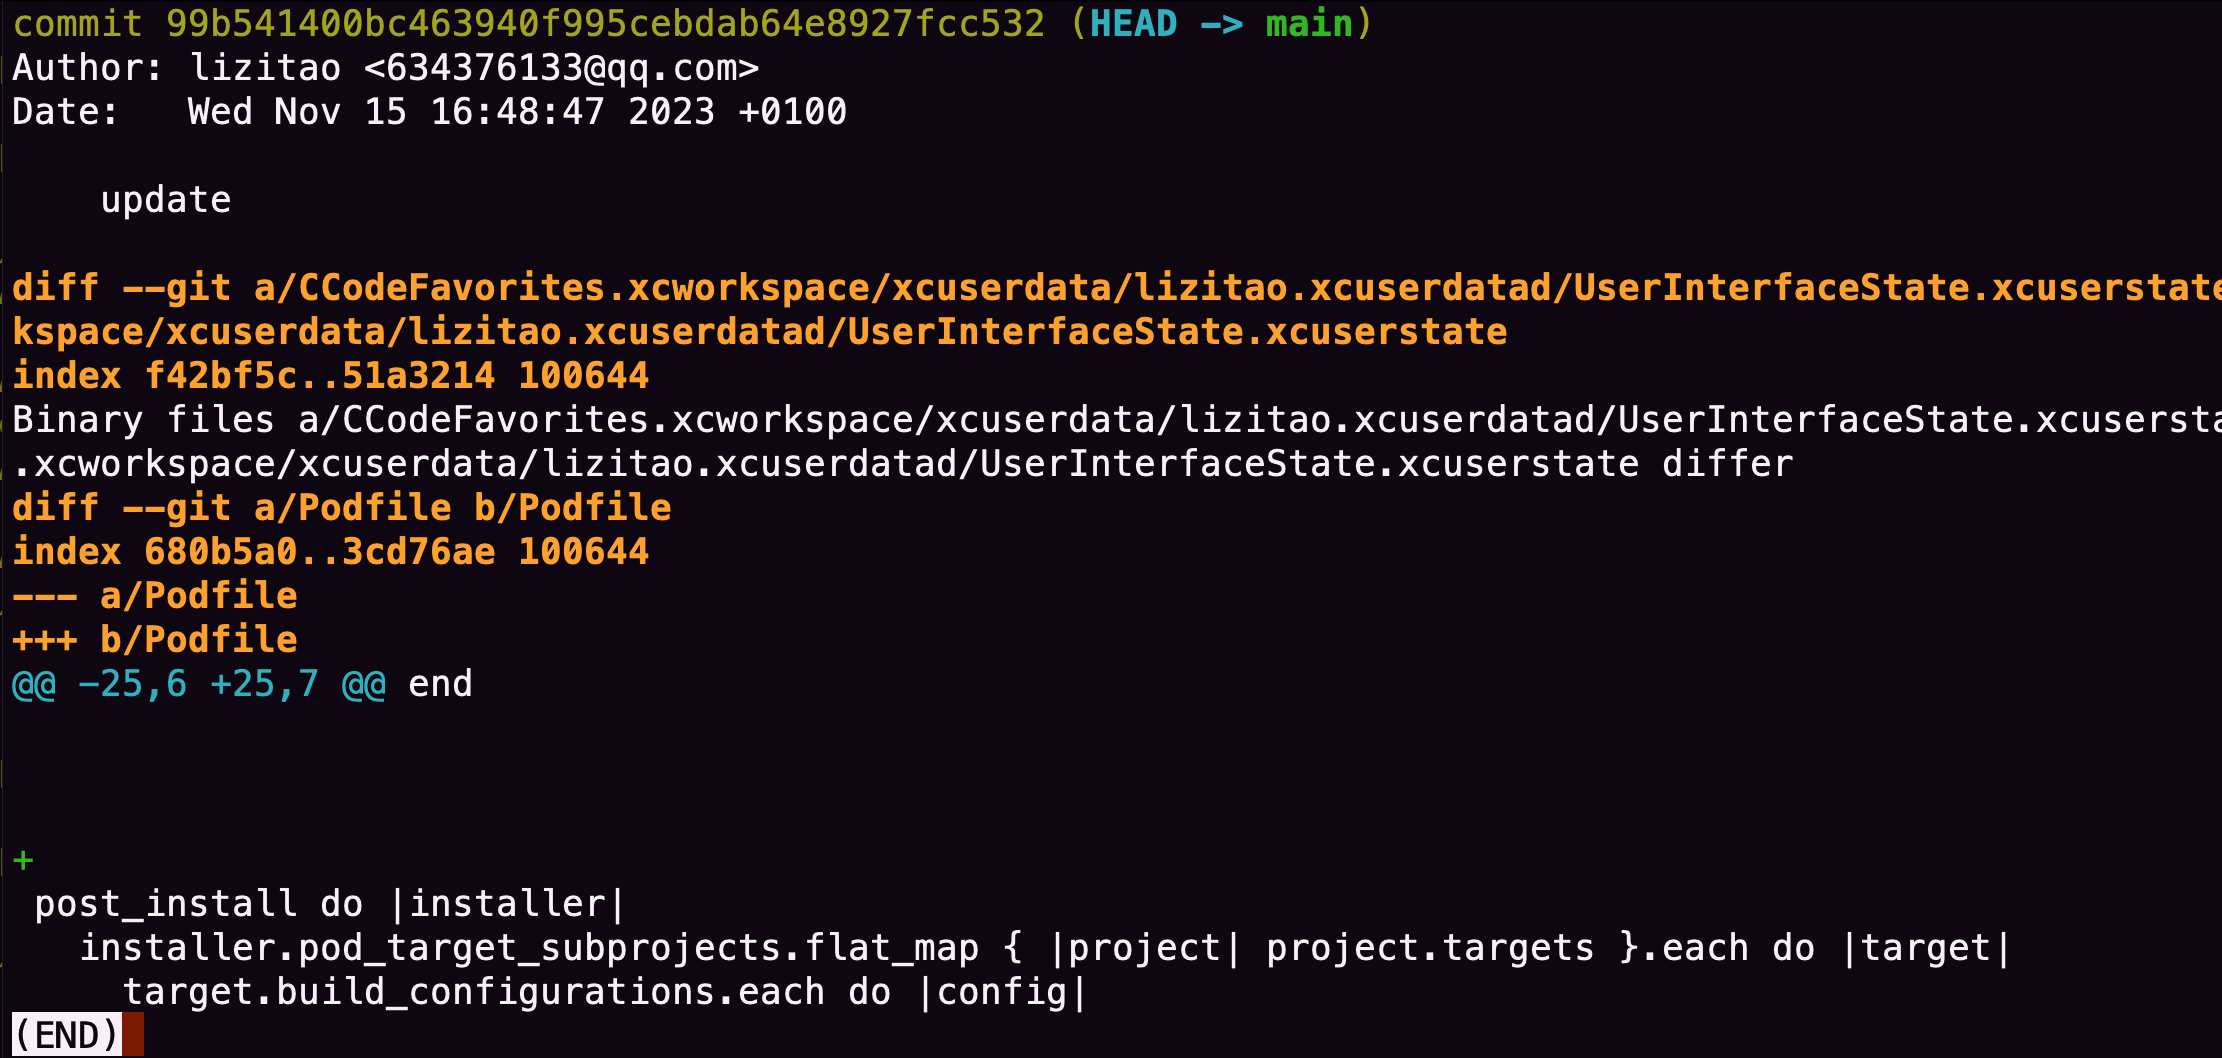
2.4 git show
Used to display details of a single commit, including changes to the commit’s content.
1 | git show 1eb6b3788eaf9545c4b44aa5ef6193a9613abbf4 |
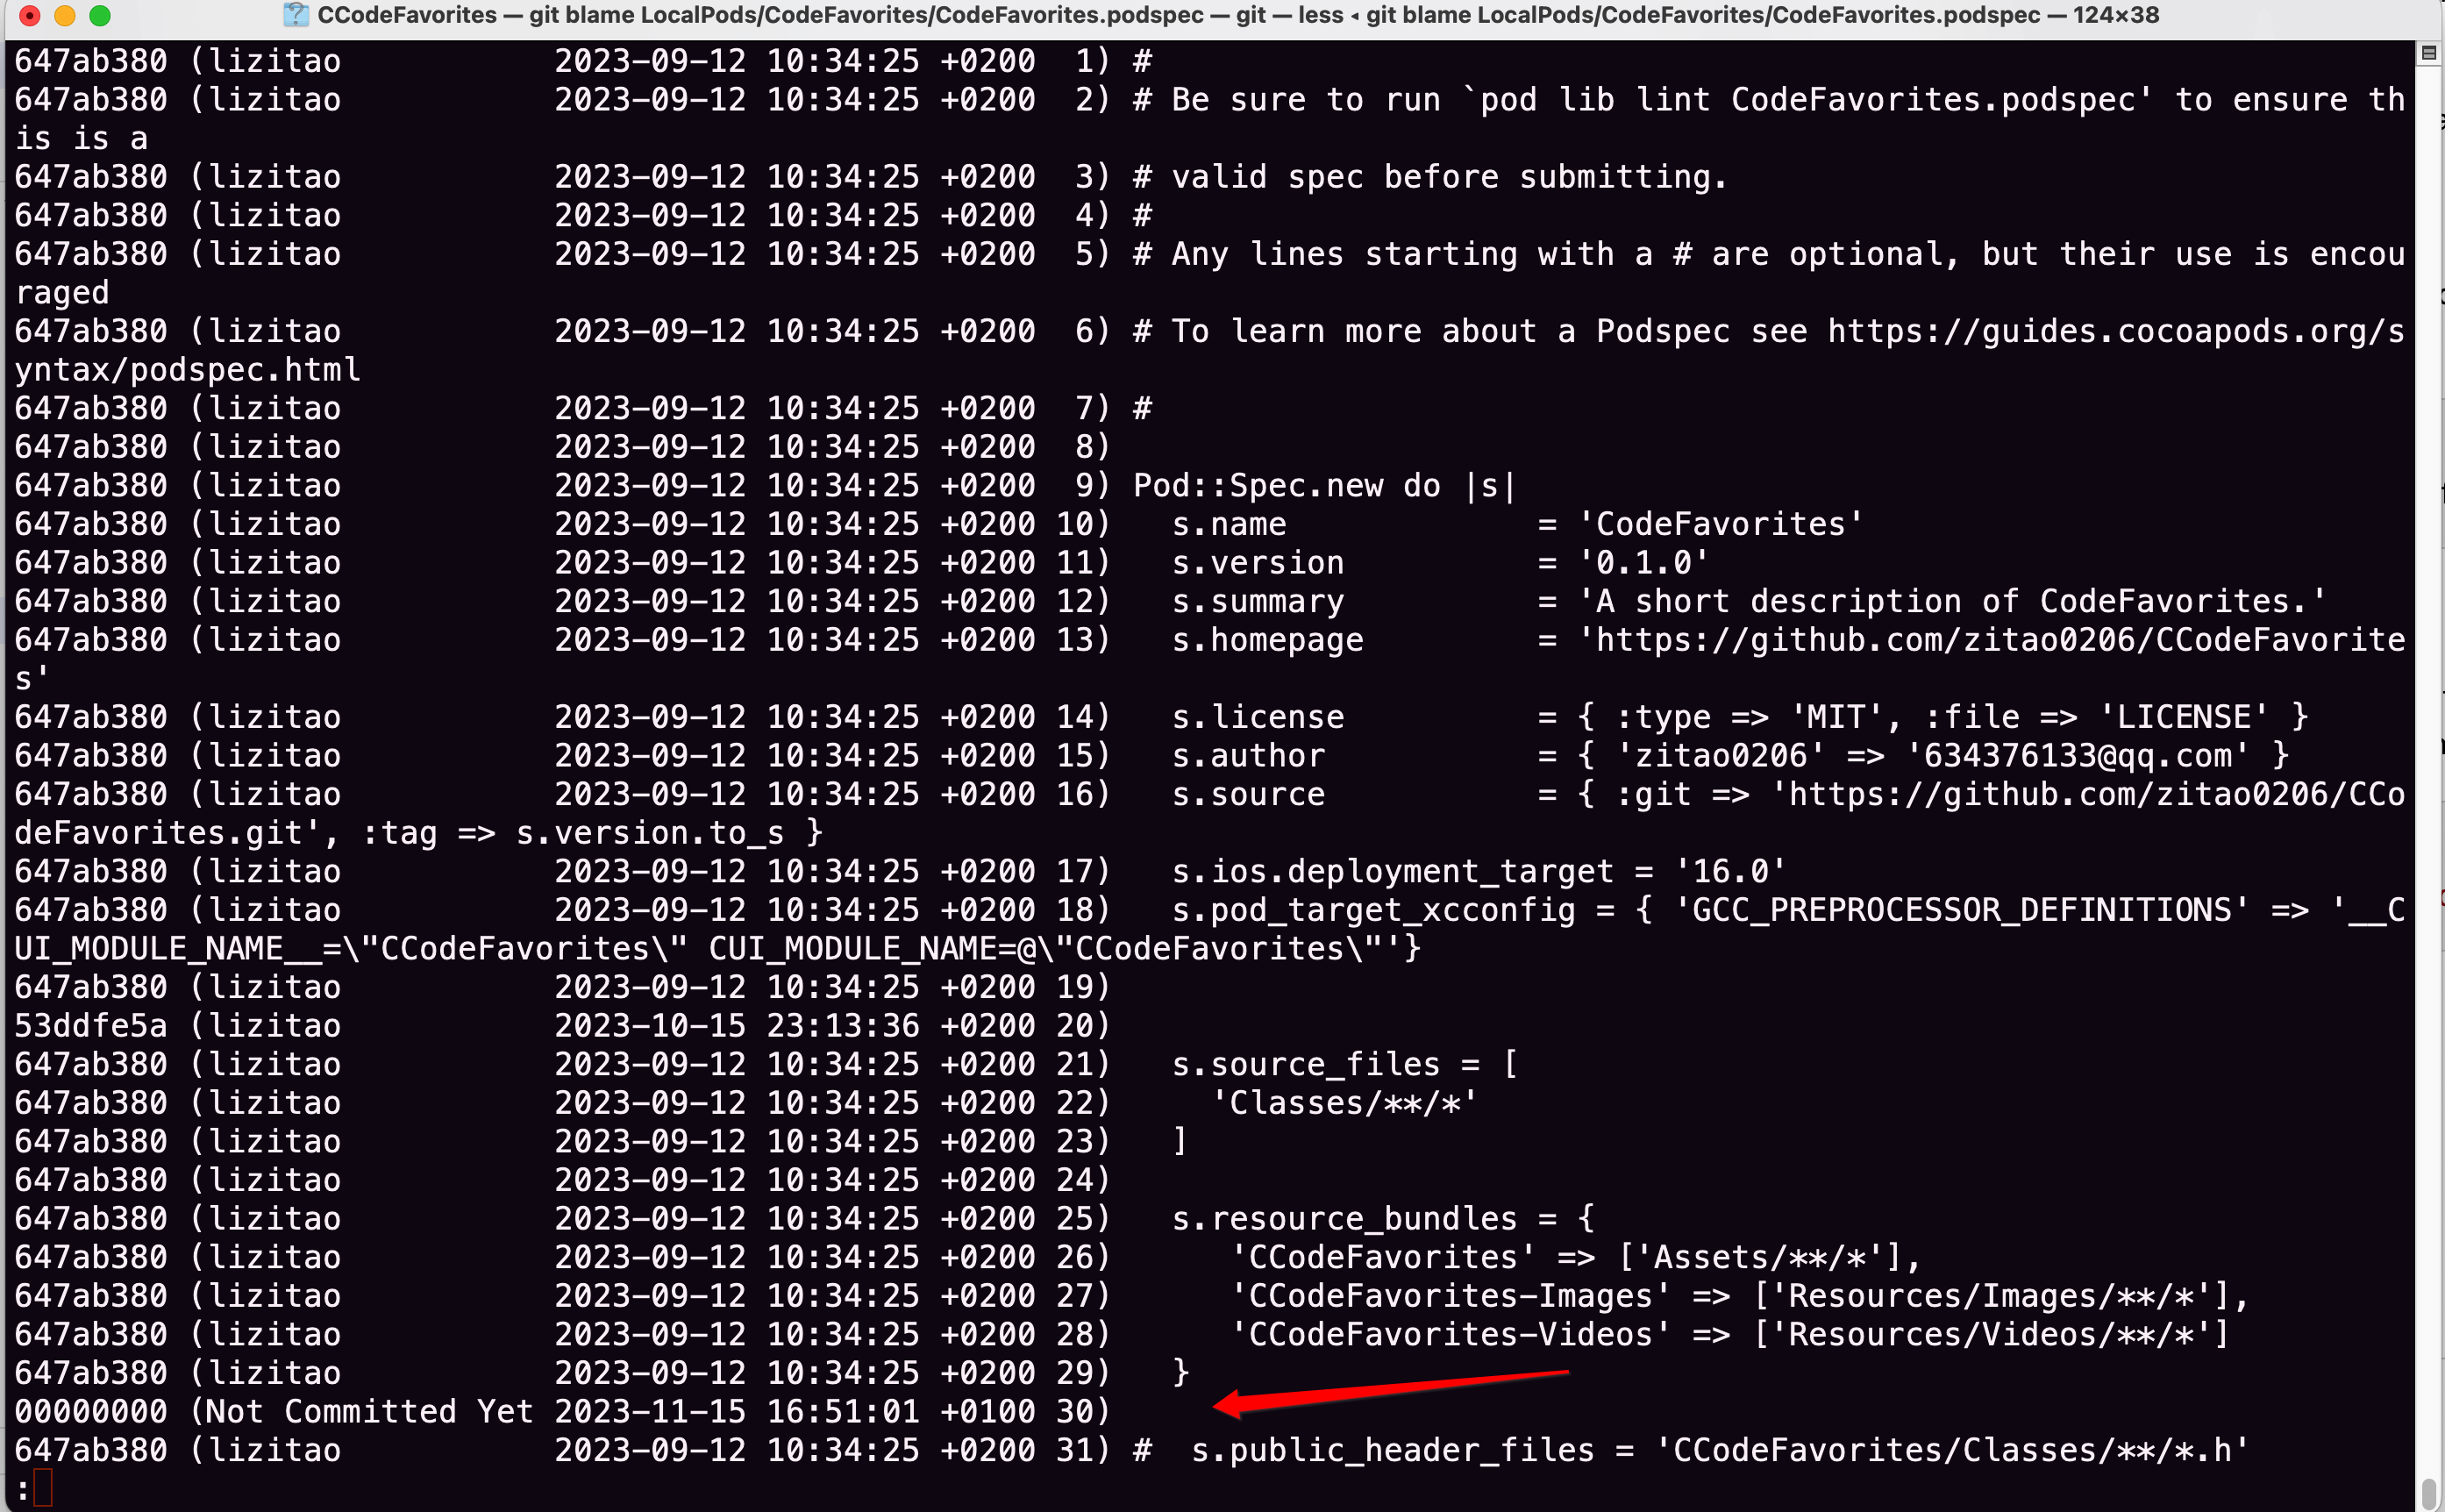
2.5 git blame
Used to display the modification history of a file line by line, showing who modified each line in which commit.
1 | git blame LocalPods/CodeFavorites/CodeFavorites.podspec |
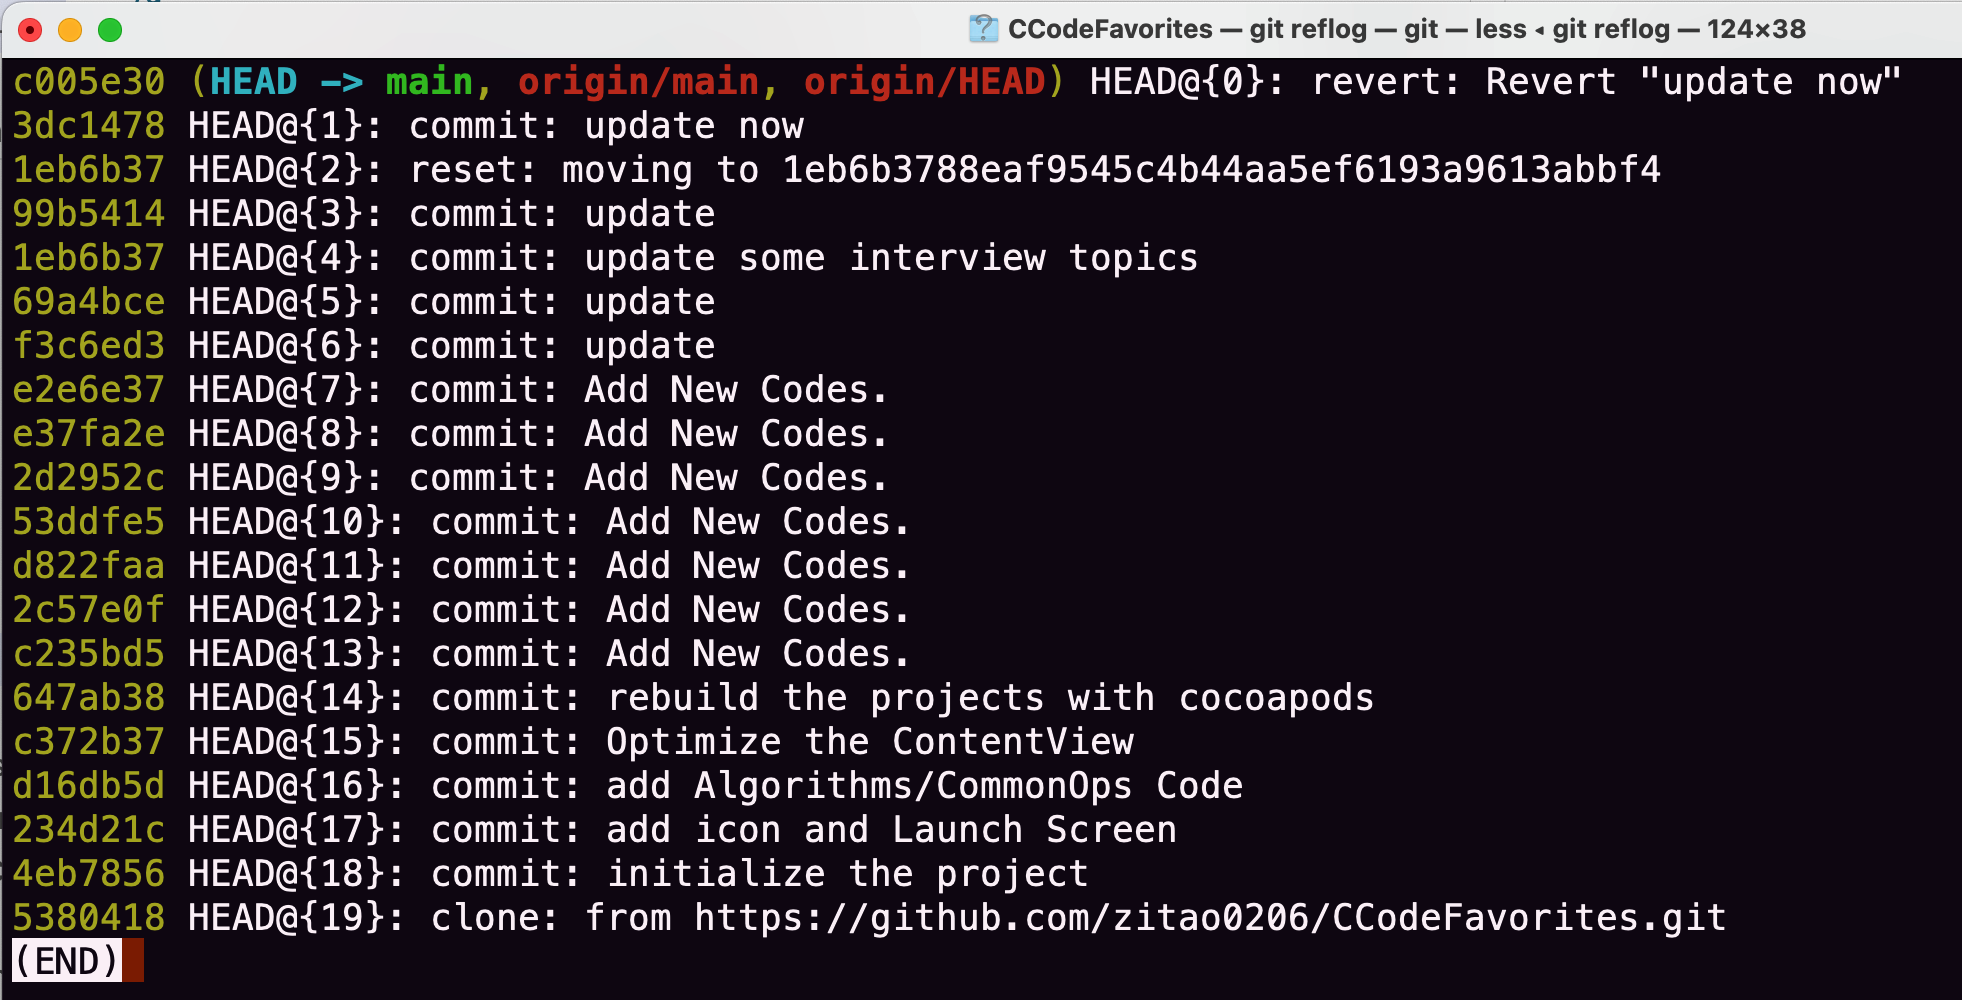
2.6 git reflog
Used to display the recent commit history of the current branch.
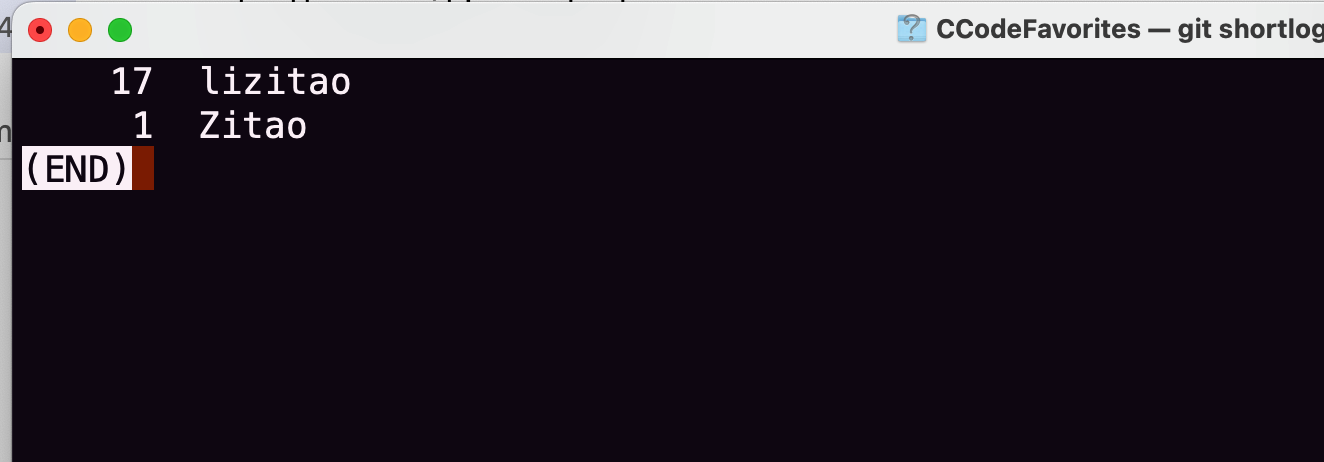
2.7 git shortlog -sn
Display all users who have submitted, sorted by number of submissions
2.8 git diff
git diff
Show the difference between workspace and staging area.
git diff --cached <file>
Displays the difference between the staging area and the previous commit, for the specified file.
git diff HEAD
Displays the differences between the workspace and the latest commit of the current branch.
git diff first-branch…second-branch
Shows the differences between two branches. first-branch and second-branch are branch names or commit hashes.
git diff --shortstat "@{0 day ago}"
Shows how many lines of code you wrote today.
3. Revoke Commonds
3.1 git reset
Used to undo a commit, modify the location of a branch, or unstage a file. It is a powerful command, but it needs to be used with caution as it can change the history of the repository.
git reset <file>
Used to reset the specified file in the staging area so that it is consistent with the version submitted (commit), but does not affect the workspace.
git reset --hard
- Used to reset the staging area and workspace to make them consistent with the version of the last commit. This operation will clear all uncommitted changes in the workspace. Use with caution.
git reset --softis recommended.
git reset <commit>
Used to reset the pointer of the current branch to the specified commit and reset the staging area, but does not affect the work area.
git reset --hard <commit>
Used to reset the HEAD and pointer of the current branch to the specified commit, and reset the staging area and work area to make them consistent with the specified commit. Use with caution as it clears all uncommitted changes from the workspace.
git reset --keep <commit>
Used to reset the current HEAD to the specified commit, but keep the staging area and work area unchanged. This moves the branch pointer to the specified commit, but does not change your working directory or affect the staging area.
Notice:
- The
--hardoption is a potentially dangerous option because it removes all uncommitted changes from the workspace. Make sure you understand this and back up important changes before use.
3.1 git revert
Used to undo a commit. It creates a new commit, undoes the changes of the specified commit, and applies the new commit to the current branch. This way, it doesn’t change the past commit history, but adds a new commit after it that undoes the previous changes.
4. Code Submission Commonds
git commit -m "..."
Submit all changes in the staging area to the local warehouse and add a commit message. Usually used to commit simple changes, where the string after the -m option is the commit message.
git commit file1 file2 ... -m "..."
Submit the file changes specified in the staging area to the local warehouse and add a commit message.
git commit --amend -m "..."
Use a new commit to replace the previous submission, usually used to modify the submission information of the previous submission. If there are no new changes to the code, it is used to rewrite the submission information of the last commit.
1 | git add . |
Reference
[1] https://blog.csdn.net/CSDN_33901573/article/details/121111157